How to Make and Use Reusable Stencils (Step-by-Step Guide for DIY Projects)
- Lazy Stencils

- Feb 20
- 3 min read
Updated: May 10
If you’re looking for high-quality reusable stencils, or wondering how to make your own stencil for walls, furniture, tiles, wood, or fabric — this complete guide will show you everything.
Whether you’re a DIY beginner or experienced artist, reusable 10 mil Mylar stencils are one of the easiest and most powerful tools for custom decorating.

What Is a Reusable Stencil?
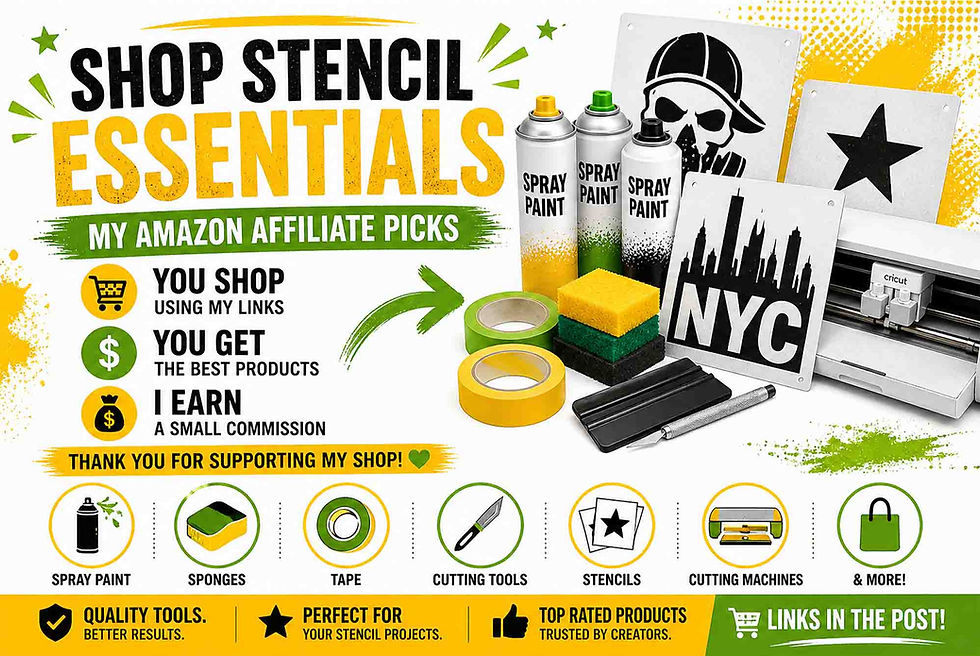
The best 10 mil & 7 mil Mylar Sheets on Amazon: https://amzn.to/4t50TYI
A stencil is a thin sheet of durable material (usually 10 mil Mylar plastic) with a design cut out so paint can pass through the open areas.
🎨 A few ads help keep our stencil prices lower for everyone.
🎨 A few ads help keep our stencil prices lower for everyone.
Unlike paper stencils, professional reusable stencils are:
✔ Laser-cut for sharp details
✔ Made from flexible 10 mil Mylar
✔ Washable & reusable
✔ Food safe (great for cookies & cakes)
✔ Stays flat while painting
✔ Works with spray paint, acrylics, chalk, markers & more
Why Choose 10 Mil Mylar Stencils?

The best 10 mil & 7 mil Mylar Sheets on Amazon:
🎨 A few ads help keep our stencil prices lower for everyone.
🎨 A few ads help keep our stencil prices lower for everyone.
When searching online, customers often type:
reusable wall stencils
10 mil Mylar stencil template
washable stencil for furniture
food safe cookie stencil
large stencil for painting
Here’s why 10 mil Mylar is the best choice:
✅ Durable but Flexible
Thick enough to stay flat, flexible enough to bend slightly over curved surfaces.
✅ Washable & Reusable
Simply rinse with water after painting.
✅ Professional Finish
Laser-cut edges create crisp, clean paint lines.
✅ Long-Lasting
Can be reused dozens (even hundreds) of times with proper care.
🎨 A few ads help keep our stencil prices lower for everyone.
🎨 A few ads help keep our stencil prices lower for everyone.
How to Make Your Own Stencil (Step-by-Step)
If you want to create a custom stencil design, here’s how professionals do it:
Step 1 – Choose a High Contrast Design
Stencil-friendly designs:
Silhouettes
Bold fonts
Minimal fine detail
Strong contrast (black & white)
⚠ Important: Add stencil bridges so inner parts don’t fall out (example: middle of letters like O, A, B).
Step 2 – Convert to Vector Format
Use software like:
Affinity Designer
Illustrator
Inkscape
Convert your design to SVG or vector format so edges are clean and smooth.
Step 3 – Cut the Stencil
Professional stencils are cut using:
CO2 laser cutter
CNC cutting machine
Precision blade cutter
Material: 10 mil (254 micron) Mylar plastic sheet
This gives:
Clean edges
Smooth finish
No tearing
Step 4 – Test

Spray paint performance
Edge bleed
Flexibility
Clean-up ability
Follow these steps for perfect results:
1️⃣ Secure the Stencil
Use painter’s tape or stencil adhesive spray.
2️⃣ Use Light Paint Layers
Don’t oversaturate. Light coats prevent bleeding.
3️⃣ Dab, Don’t Flood
Use tapping motion with brush or light spray passes.
4️⃣ Remove Carefully
Peel slowly while paint is still slightly wet.

🎨 A few ads help keep our stencil prices lower for everyone.
🎨 A few ads help keep our stencil prices lower for everyone.
Best Surfaces for Stencils
Customers often search for:
stencil for wall decor
stencil for furniture makeover
tile stencil for floor
reusable stencil for wood signs
stencil for fabric painting
Reusable Mylar stencils work great on:
Walls
Wood furniture
Tiles & floors
Canvas
Fabric
Glass
Concrete
Cookies & cakes
Why Buy Professional Stencils Instead of Making Paper Ones?
The best 10 mil & 7 mil Mylar Sheets on Amazon:
Paper stencils:
❌ Tear easily
❌ Warp from paint
❌ One-time use
Professional reusable stencils:
✔ Stay flat
✔ Crisp results
✔ Reusable many times
✔ Durable plastic material
For serious DIY or business use, reusable stencils are the smarter investment.
Final Thoughts
Reusable 10 mil Mylar stencils are one of the most versatile DIY tools available. Whether you’re decorating your home, starting a stencil business, or creating custom artwork, quality stencils make all the difference.
If you’re looking for professional reusable stencils that stay flat, are washable, flexible, and laser-cut for precision, explore our collection today.
🎨 Start your next project with confidence.
The best 10 mil & 7 mil Mylar Sheets on Amazon:
🎨 A few ads help keep our stencil prices lower for everyone.
🎨 A few ads help keep our stencil prices lower for everyone.


Comments